


Create a main design containing several print designs in the Manage Design Groups window. Printing the main design prints the record in all its component designs together with one click, saving the effort of printing each separately. You can also choose the page and printer for each design.
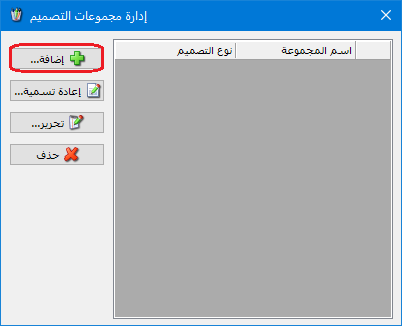
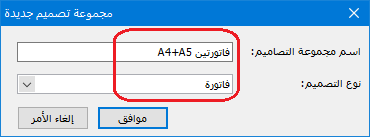
Choose Tools > Manage Design Groups. Click Add, then enter the design group name and the type of designs it contains, as shown below:
.
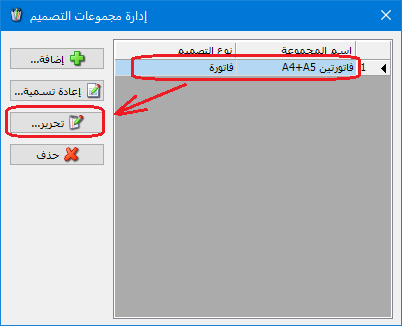
Select the design group and click Edit, as shown below:
.
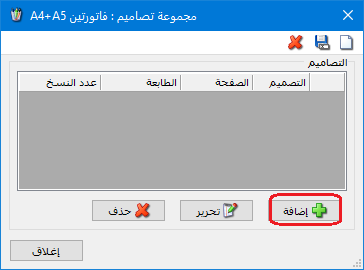
In the following window, click Add to select component designs for the group:
.
Select the print design, its page, printer and number of copies. You can also specify print conditions and filter conditions, as shown below:
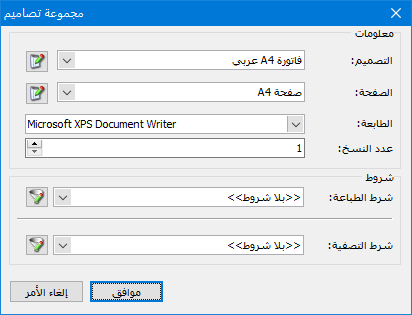
.
Add other designs in the same way. The design group window then contains the following designs:
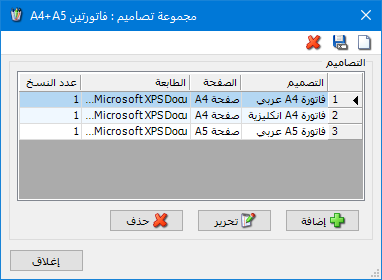
.
To remove a design from the group, select it and click Delete. Click Edit to change its settings, or Add to include another design. To print the group, choose Operations > Print Custom Invoice from the invoice, enable Multiple Printing and select the previously defined Design Group, as shown below:
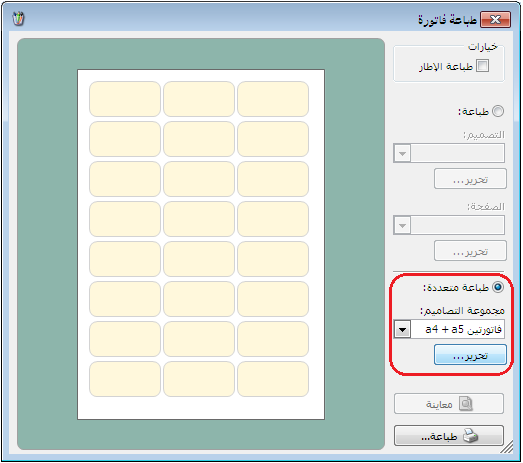
.


